JEWELLERY PRODUCT PHOTOGRAPHY
Jewellery Product Photography in Hyderabad: How to Prepare Every Piece for the Camera
Jewellery product photography in Hyderabad begins long before a necklace, ring or pair of earrings reaches the camera. The smallest details—a twisted chain, a fingerprint on polished metal, a loose stone or an unevenly positioned pendant—can affect how a finished photograph represents the piece.
Unlike many larger products, jewellery often needs careful handling at a very small scale. Its reflective surfaces, delicate construction and intricate finishing make preparation particularly important.
For jewellery founders, designers and e-commerce teams, preparing each piece properly helps create photographs that show the product clearly without relying on excessive digital correction.
This guide focuses on the jewellery itself: what to inspect, clean, arrange and verify before a professional product photograph is captured.
Inspect the jewellery before preparing the set
Start by examining each piece under good, even light.
Look beyond its overall appearance. Check whether the clasp closes properly, the chain sits naturally, the pendant hangs in the intended direction and the stones appear securely positioned.
A necklace that looks perfectly acceptable in its packaging may reveal an awkward chain twist when laid flat. An earring may appear symmetrical until both pieces are placed side by side.
Pay particular attention to:
• Visible scratches, fingerprints and polishing residue
• Loose threads or fibres caught around settings
• Uneven earring backs and bent posts
• Chain links that have folded or twisted
• Pendants that do not sit centrally
• Product tags, stickers or protective film that should be removed
Record any genuine product defects before photography. Retouching should not be used to conceal a problem that customers would encounter in the actual item.
Clean according to the material, not a universal routine
A clean product is easier to photograph, but not every piece of jewellery should be cleaned in the same way.
Gold-plated jewellery, silver, pearls, enamel, costume jewellery and gemstone-set pieces can react differently to moisture, chemicals and polishing.
Before cleaning, follow the maker's care instructions. Where appropriate, a clean, soft microfibre cloth can help remove surface fingerprints. Avoid applying unfamiliar cleaning solutions immediately before a shoot.
Inspect the piece again after handling it. Fingerprints can return quickly when jewellery is repositioned, particularly on smooth metallic surfaces.
The objective is not to make every surface unnaturally flawless. It is to present the product in its intended, saleable condition.
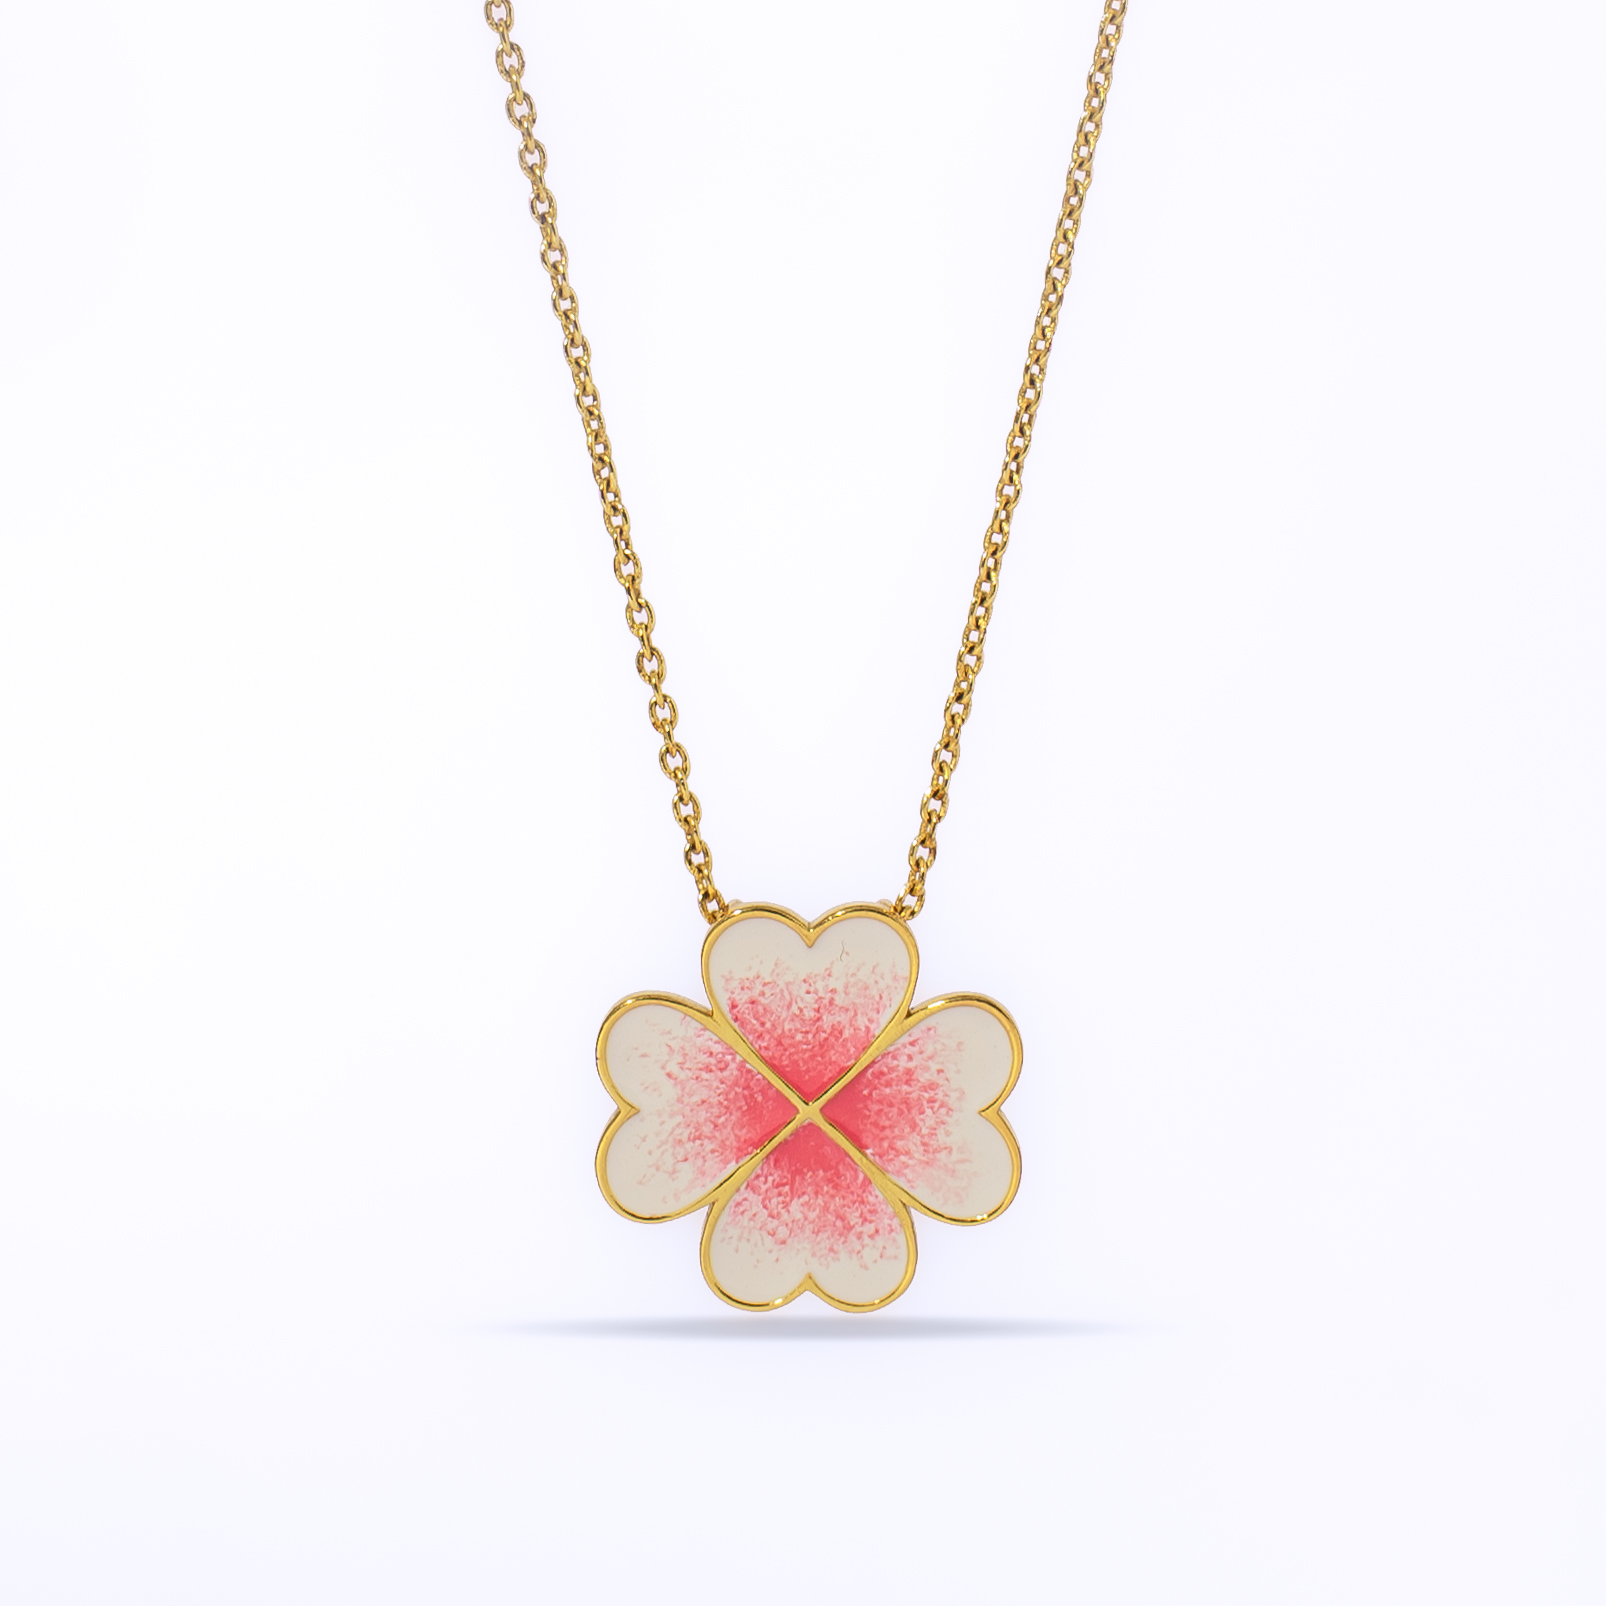
Arrange necklaces so their construction is understandable
Necklace photography requires more than placing a pendant in the centre of the frame.
The chain, pendant, clasp and overall fall should make visual sense together.
For a product-only image, check that the chain follows a deliberate shape without unexpected bends. Make sure the pendant faces forward and that its connection to the chain is visible where relevant.
If the necklace contains multiple elements, arrange them so customers can understand how those elements relate to one another.
A useful preparation method is to examine the piece from the camera's intended viewing angle rather than only from directly above. Small positioning errors can become more noticeable when the final composition is viewed through the lens.
Prepare earrings, rings and bracelets differently
Each jewellery category presents a different positioning challenge.
Earrings: Confirm that the pair is correctly matched and arranged at consistent angles. If the design includes a front and side profile, determine which view communicates its construction most clearly.
Rings: Check the orientation of the central stone, band and setting. A ring photographed only from the front may not reveal its depth or the way the setting rises above the band.
Bracelets: Look for unnatural bends, overlapping links or a clasp that interrupts the intended shape. Flexible bracelets may need careful support to maintain their form.
Layered jewellery: Decide whether the products should be shown individually before photographing them together. Styling multiple pieces can create an attractive composition, but it should not make individual products difficult to identify.
The aim is to give each design enough visual clarity to stand on its own.
Check gemstone appearance without changing its identity
Gemstones can look different under different lighting conditions and viewing angles.
A stone may appear darker when tilted away from the light, while a highly reflective surface may show a bright highlight that obscures its internal detail.
Before the shoot, identify which aspects of the stone are important to communicate: its shape, colour, setting, cut or relationship to the surrounding metal.
During image review, compare the photograph with the physical piece under suitable viewing conditions.
Digital adjustments may be necessary to reproduce the intended appearance, but they should not turn one gemstone colour into another or exaggerate the product's quality.
For e-commerce photography, visual appeal should work alongside faithful product representation.
Decide which details deserve a closer photograph
Not every jewellery product needs the same close-up views.
A minimal chain may need a photograph showing its clasp and link structure. A statement necklace may benefit from a detailed image of its pendant. A handcrafted ring might require a closer view of its setting or surface finish.
Rather than adding close-ups simply to increase the image count, ask what a customer might reasonably want to inspect before purchasing.
A useful detail photograph can answer a specific question:
• How is the pendant attached?
• What does the fastening look like?
• How are the stones arranged?
• Does the piece have a textured or smooth finish?
• What makes the design distinctive?
These decisions help keep detail photography purposeful rather than repetitive.
Prepare jewellery for photography on a model
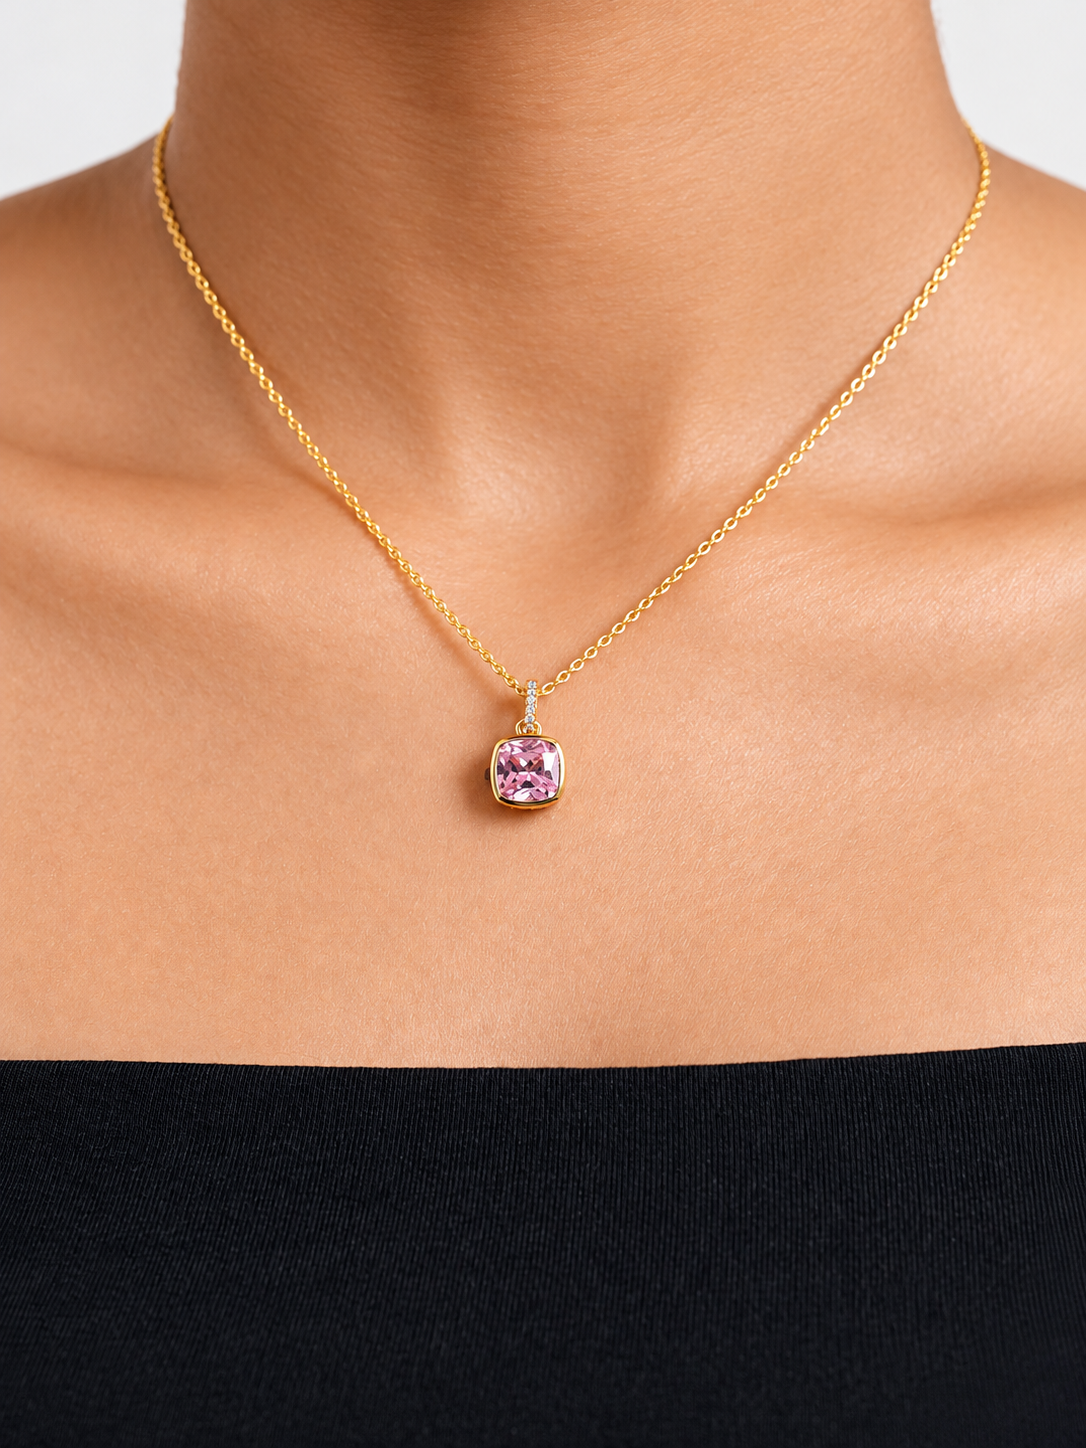
Product-only images reveal construction. Photographs of jewellery being worn can communicate proportions and how a piece sits against the body.
For a necklace, check whether the pendant rests at the intended position and whether the chain is visible without being pulled unnaturally.
For earrings, examine whether the design is hidden by hair or clothing. For bracelets and rings, check whether the hand position allows the product to remain the visual subject.
The product should also be inspected after it has been put on. A clasp may rotate, a chain may catch against fabric or a pendant may shift as the model changes position.
Review the image against the physical product
Before approving a final photograph, compare it with the actual jewellery piece.
Look for discrepancies that might have been introduced through positioning, lighting or editing.
Check whether the photograph preserves the correct pendant shape, metal appearance, stone colour and visible design details.
Also confirm that the image does not accidentally show a chain length, clasp arrangement or combination of products that differs from what customers will receive.
If several variations of one design exist, ensure the correct photograph is associated with the correct product.
This final comparison is especially valuable when a collection contains similar-looking pieces with different finishes, colours or settings.
Create a jewellery-specific preparation record
A simple product record can make future photography sessions easier, particularly when designs return in new collections or colour variations.
For each item, consider recording its product code, material description, identifying design details, approved orientation, any special handling instructions and the photographs that best represent it.
The record should reflect the product accurately rather than becoming an unnecessarily complicated production document.
Over time, consistent records can help a brand recognise which visual details matter most across its collection.
For a broader explanation of studio selection and production services, see IncluHub's guide to choosing a jewellery photography studio in Hyderabad (https://www.incluhub.in/blog/jewellery-product-photography-shoots-hyderabad-brands/).
How IncluHub approaches jewellery product presentation
At IncluHub, jewellery photography is considered part of a wider brand presentation process. Product-only photographs, model-led imagery and creative content can serve different needs, but each should begin with an accurate understanding of the product.
IncluHub's production offering in Madhapur, Hyderabad, supports discussions around jewellery photography, studio-based shoots and brand content.
For brands developing ongoing content, IncluHub's Brand Creator Ecosystem (https://www.incluhub.in/private-network/) also represents a broader approach to building continuity with creative collaborators. Specific platform capabilities and availability should be confirmed separately.
The starting point remains the same: understand the product, decide what customers need to see and prepare the piece to communicate those details faithfully.
Should jewellery be polished before product photography?
Only according to the material's recommended care instructions. The goal is to remove appropriate surface distractions without damaging finishes, coatings, stones or delicate components.
Why does a jewellery necklace look different in a photograph?
Its appearance can change because of positioning, camera angle, reflections, lighting and how the chain or pendant is supported. Comparing the photograph with the physical product helps identify misleading differences.
Are close-up photographs necessary for every jewellery product?
Not always. They are most useful when they reveal a feature customers cannot clearly understand from the main product photograph.
Can jewellery product photographs and model photographs be used together?
Yes. Product-only images can communicate construction and detail, while model photographs can show how a piece looks when worn. Each image should have a clear purpose.
How can a jewellery brand reduce product photography errors?
Inspect products before shooting, follow appropriate handling practices, check their positioning and compare final images against the actual pieces before approval.
Final thoughts
A successful jewellery photograph should do more than attract attention. It should help someone understand the piece.
Careful inspection, material-appropriate cleaning, thoughtful positioning and accurate final review can make the difference between an attractive image and one that genuinely represents the product.
For jewellery brands, those small decisions deserve attention because the smallest details are often what make the design memorable.
Explore IncluHub's studio and creative production services (https://www.incluhub.in/studio-rental/) or contact IncluHub (https://www.incluhub.in/contact/) to discuss your collection and photography requirements.
Planning a jewellery product shoot in Hyderabad?
Explore IncluHub's studio and creative production services, or contact the team to discuss your collection and photography requirements.
Explore the studio →